
This blog post gives readers a surface-level introduction to using React Context API with Role Based Access Control. Before getting into the details, it’s assumed that readers have some level of understanding of what API means and its applications. If you are unfamiliar, we recommend you check out our previous article.
However, it’s important to note that this post is not a comprehensive guide to the subject, the article’s main goal is to motivate readers to explore more React Context API – Role Based Access. This post will give readers an idea of what can be achieved with this powerful tool with a simple demonstration. We’ll cover more in-depth details on this topic in future posts.
The outline of the context that have covered in this post can be found below
I. Introduction
React Context API
Role Based Access Control (RBAC)
II. Setting Up the Context
Create a context with createContext()
Create a provider component to pass down the context value
III. Using the Context
Access context value with useContext()
Render different components based on the user’s role
IV. Implementing RBAC
Render components based on the user’s role
RBAC with React Context API Application
V. Conclusion
Recap of the benefits of using React Context API for RBAC
Suggestions for further learning.
I. Introduction
React Context API
React context API enables users to share data across components (reusable sets of code) without the need to pass down props manually. Think of the component of react as a building block that can assemble together to create a complex interface.
In react, there are two types of user components called functional (define javaScript functions) and class (define javaScript classes) components. React is not an API in the traditional sense. It is a JavaScript library used to build user interfaces.
React provides a helpful set of tools and APIs. These tools allow users to create reusable components. Additionally, React can handle components’ state, and props and manage their lifecycle.
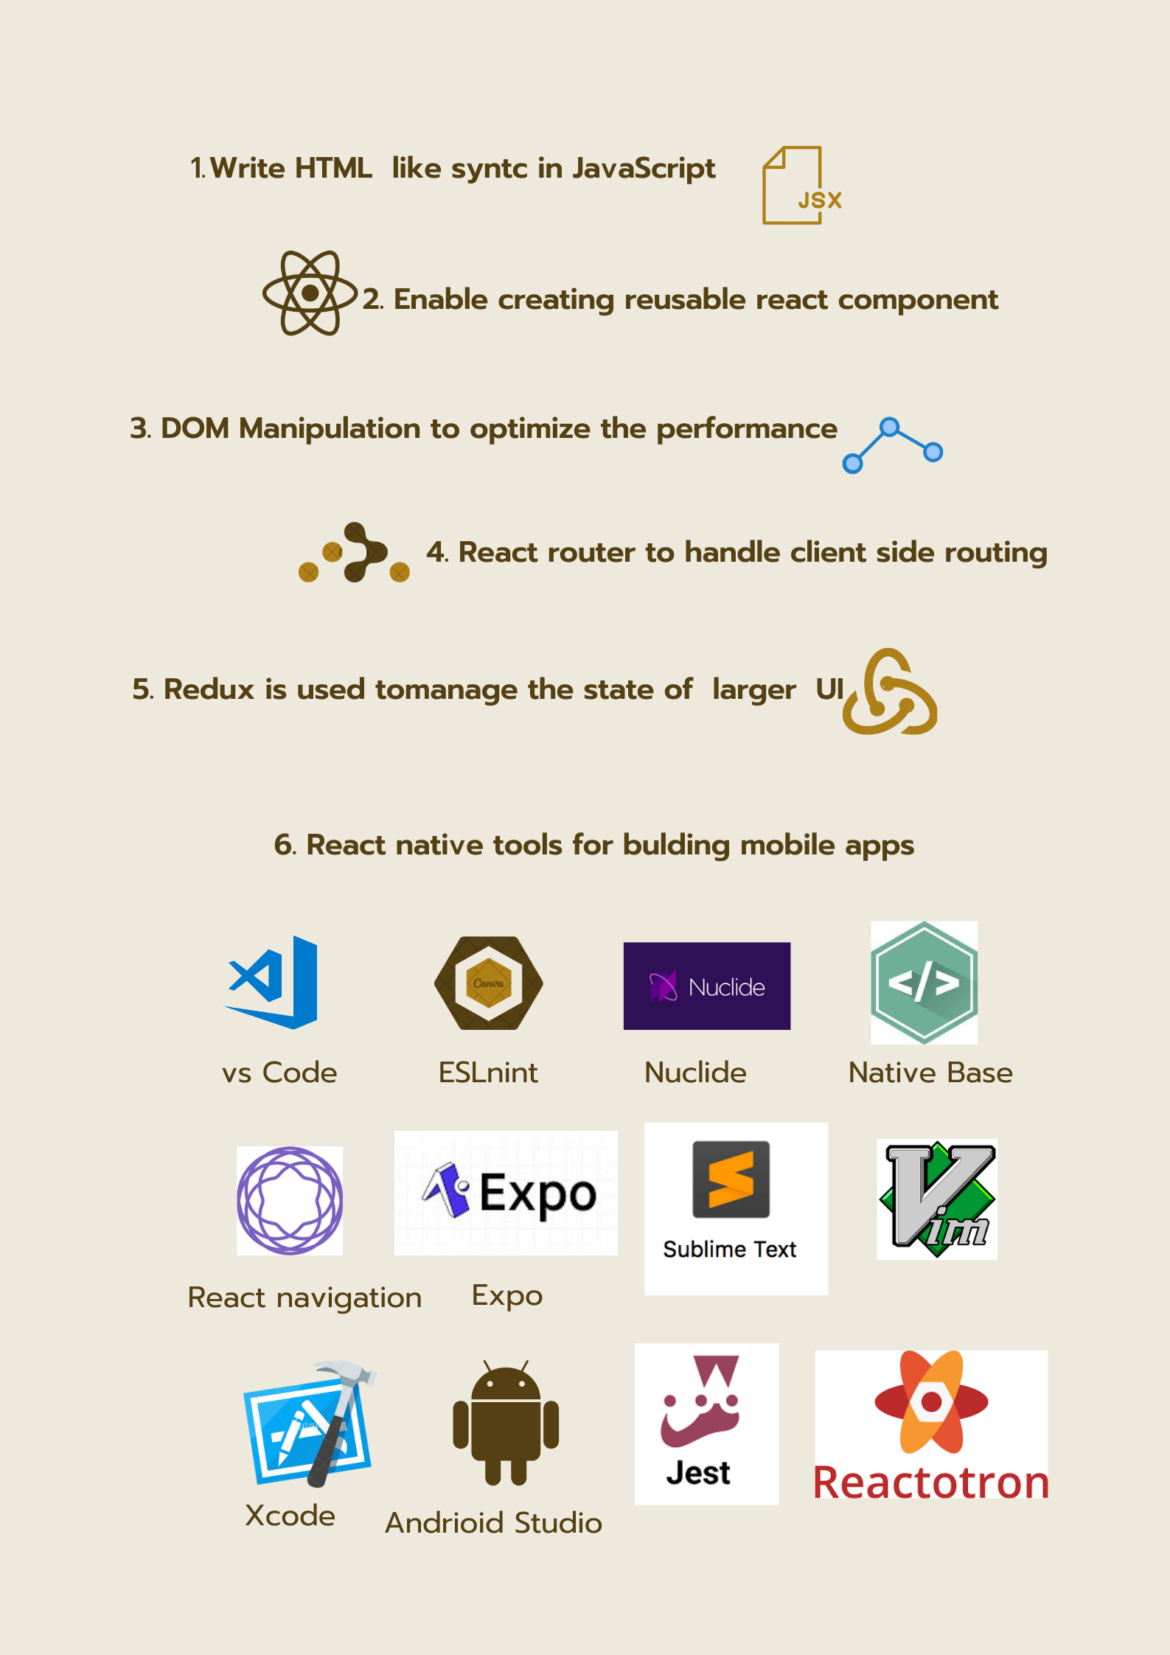
React is also extremely adaptable and can be combined with a wide range of additional tools and packages, like Redux for state management and React Router for routing. It has a huge and active community, as well as several third-party libraries and plugins.
The following figure shows some of the tools offered by React.
If you want to work with the context API first thing you have to do is to create a context object using ‘React.createContext()’ method, Then you will have to provide the context object to any component using the ‘Context. Provider‘ method. After that, the data will be available to reuse for any component.
To create and execute a React application, you must first install Node.js. Node.js is a JavaScript engine that allows JavaScript code to be executed outside of a web browser, which is required for constructing React apps. Node.js can be downloaded from the official website at https://nodejs.org/en/download/. After installing Node.js, use the npm command to install the required packages and launch your React application.
You can follow the below tutorial to install node.js on your PC.
Role Based Access Control (RBAC)
The widely used access control technique known as role-based access control (RBAC) allows users to access resources according to their jobs or responsibilities within an organization. Additional access control strategies consist of:
- Discretionary Access Control (DAC): This technique lets the resource’s owner manage who has access to it. Owners can grant users or groups of users access to a resource by assigning them the appropriate permissions.
- Mandatory Access Control (MAC): This approach employs tags or categories to control who has access to what resources. The security level of the user and the resource both play a role in who has access to what resources.
- Attribute-Based Access Control (ABAC): Access is controlled by the use of attributes or characteristics of users, resources, and the environment (ABAC). As attributes may be combined and weighted to determine access, it enables more precise control over access.
- RBAC (Rule-Based Access Control): This approach uses a set of rules to control who has access to resources. Access is determined by applying rules, which may be based on user roles, attributes, or other elements.
- Role-Based Access Control (RBAC): This technique grants access to resources based on the roles that are assigned to users after they are assigned those responsibilities. Roles can be hierarchical and users can have many roles.
Instead of granting access to users on an individual basis, an RBAC system bases it on their position within the organization. A role is a group of permissions that specify what can be done with a specific resource. In contrast to a user with the “member” role, who may only be able to read and update their own resources, an “admin” user may be able to create, read, update, and delete all resources inside an organization.
II. Setting Up the Context
Step 1- Create a context with createContext()
The React Context API allows you to pass data down the component tree without having to explicitly supply props to each level of the tree. To use the Context API, go through the following steps:
1. Build a context object with the ‘React.createContext()’ method.
2. With the ‘Context.Provider’ method, you may pass the context object to any component. This makes the data available to any component that is a child of the provider.
3. Every component that requires data access can use the ‘Context.Consumer’ function to access the data passed down by the provider.
1. Use create-react-app to start a fresh React app. Run the following command in your terminal to accomplish this:
npx create-react-app my-context-app
cd my-context-app
Step 2 - Create a provider component to pass down the context value
2. Use your terminal to perform the following command to install the prop-types package
npm install prop-types
3.Make a new file called ThemeContext.js and place it in your app’s src folder. Add the following code to this file
import React from 'react';
import PropTypes from 'prop-types';
const ThemeContext = React.createContext();
export const ThemeProvider = ({ children }) => {
const [theme, setTheme] = React.useState('light');
const toggleTheme = () => {
setTheme(theme === 'light' ? 'dark' : 'light');
};
return (
<ThemeContext.Provider value={{ theme, toggleTheme }}>
{children}
</ThemeContext.Provider>
);
};
ThemeProvider.propTypes = {
children: PropTypes.node.isRequired,
};
export const useTheme = () => React.useContext(ThemeContext)
ThemeProvider and useTheme are two components that this code exports together with a new context named ThemeContext. UseTheme is a custom hook that enables you to access the theme and toggleTheme the properties from the context. ThemeProvider is a wrapper component that gives its children access to ThemeContext.
III. Using the Context
Step 3- Access context value with useContext()
4. Import the ThemeProvider component from ThemeContext.js into your App.js file, then enclose your app inside of it. Provide a button that, when clicked, calls the toggleTheme function
import React from 'react';
import { ThemeProvider, useTheme } from './ThemeContext';
function App() {
return (
<ThemeProvider>
<div>
<Header />
<Body />
<ThemeButton />
</div>
</ThemeProvider>
);
}
function ThemeButton() {
const { toggleTheme } = useTheme();
return <button onClick={toggleTheme}>Toggle Theme</button>;
}
This code uses the ‘ThemeProvider‘ to cover the app and imports the ‘useTheme‘; and ‘themeProvider‘ components from ThemeContext.js. Also, it introduces a brand-new component called ‘ThemeButton‘ that makes use of the use theme hook to access the ‘toggleTheme’ function and create a button that, when clicked, invokes it.
Step 4 - Render different components based on the user's role
5. To render various pieces of content dependent on the current theme, create two new components called Header and Body that use the use theme hook
function Header() {
const { theme } = useTheme();
return <h1>{theme === 'light' ? 'Light Theme Header' : 'Dark Theme Header'}</h1>;
}
function Body() {
const { theme } = useTheme();
return <p>{theme === 'light' ? 'Light Theme Body' : 'Dark Theme Body'}</p>;
}
6. After that, render the components Header, Body, and ThemeButton in App.js
function App() {
return (
<ThemeProvider>
<div>
<Header />
<Body />
IV- Implementing RBAC
Step 1 - Render components based on the user's role
1. Use the createContext() method of the React Context API to create a UserContext. The role of the user should be contained in the UserContext, and this role can be set by the parent component
import { createContext } from 'react';
export const UserContext = createContext();
2. Create a provider component that wraps the child components and sets the user’s role in the context.
import React, { useState } from 'react';
import { UserContext } from './UserContext';
function App() {
const [role, setRole] = useState('user');
return (
<UserContext.Provider value={{ role }}>
<div>
{role === 'admin' && <AdminPanel />}
{role === 'user' && <UserProfile />}
</div>
</UserContext.Provider>
);
}
export default App;
Step 2 - RBAC with React Context API Application
3. In the child components, use the useContext() hook from the React Context API to access the user’s role and render components based on the role
import React, { useContext } from 'react';
import { UserContext } from './UserContext';
function AdminPanel() {
const { role } = useContext(UserContext);
return (
<div>
{role === 'admin' && (
<div>
<h1>Admin Panel</h1>
<p>Welcome, admin!</p>
</div>
)}
</div>
);
}
export default AdminPanel
import React, { useContext } from 'react';
import { UserContext } from './UserContext';
function UserProfile() {
const { role } = useContext(UserContext);
return (
<div>
{role === 'user' && (
<div>
<h1>User Profile</h1>
<p>Welcome, user!</p>
</div>
)}
</div>
);
}
export default UserProfile;
V. Conclusion
This implementation shows how to build RBAC and render components according to the user’s role using the React Context API. Any child components that require the user’s role can receive it from the UserContext.Provider component, and the useContext hook can be used to retrieve the role in the child components.
Suggestions for further learning.
Popular JavaScript tools like Redux, GraphQL, TypeScript, and Webpack are frequently combined with React for creating user interfaces. You can research these technologies and subjects, as well as testing frameworks like Jest and Enzyme, to improve your abilities as a React developer. Also, a thorough overview of React and a variety of subjects are covered in the official React documentation.
